

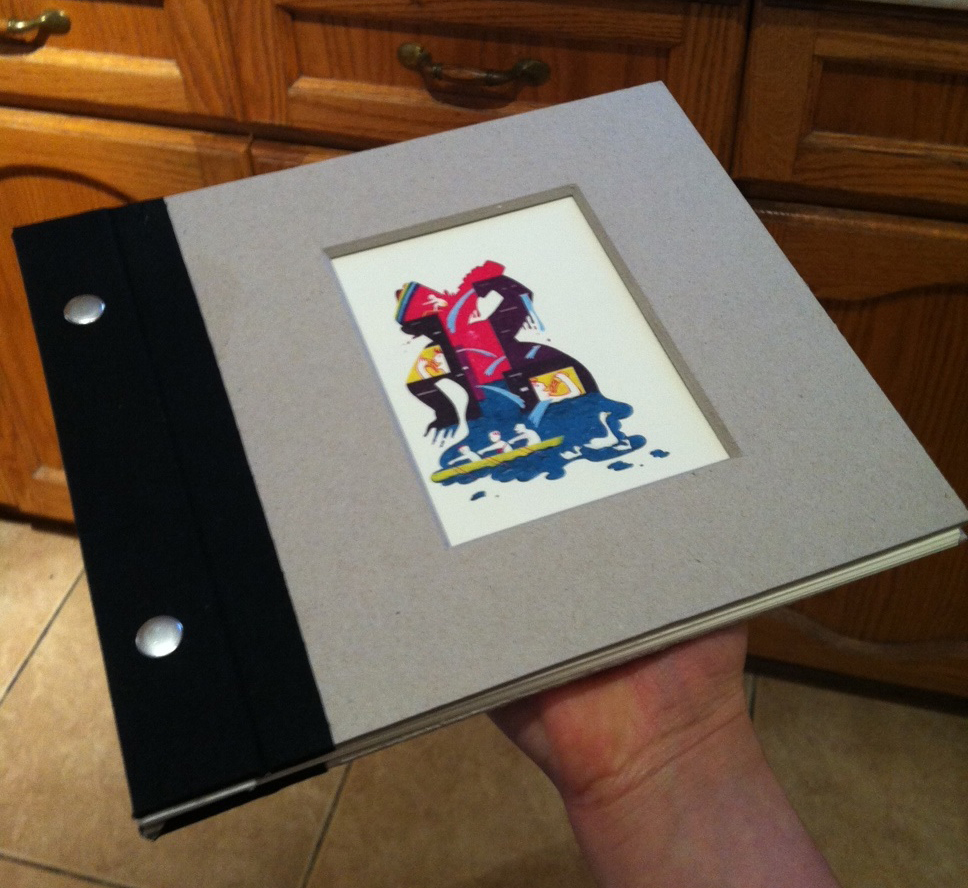
I recently finished my thesis project "My Glass Is Way Too Full!" and thought it would be nice to make a catalogue book to go along with my graduate exhibition - without having ever done book binding before (other than saddle stitch with staples). I had a specific idea of how I wanted it to look: a book with screw post binding, cloth on the sides, and a cut-out window revealing the first image of the book. After doing a lot of online research and making a terrible mess, I thought I could make a tutorial for humble people like me. If I can do it, you can do it too.
Supplies

General tools
ruler, T-square, cutting mat, utility knife, bevel mat cutter, pencil, fine sanding paper, Eska graphic board
Binding materials
screw posts, bone folder, small flat brush, linen tape, binding cloth,
PVA glue
You also need to have access to a drill press to drill holes on your pages and side strips. A hole punch is an option, but I used a pretty thick Eska board to give a nice hard-cover feel, plus a drill press gives you the precision you need. If you are a student, your school might have one, or contact local wood shops to see if you could use it. If you live in downtown Toronto, Toronto Tool Library (both West & East locations) has a few drill press machines available (http://torontotoollibrary.com/). If you or your family/friends have one, trade favours with beer/donuts. Make sure to bring your screw posts to match the size of the drill bit (and to ask if your friends/family prefer IPA's or ales).
Document Preparation


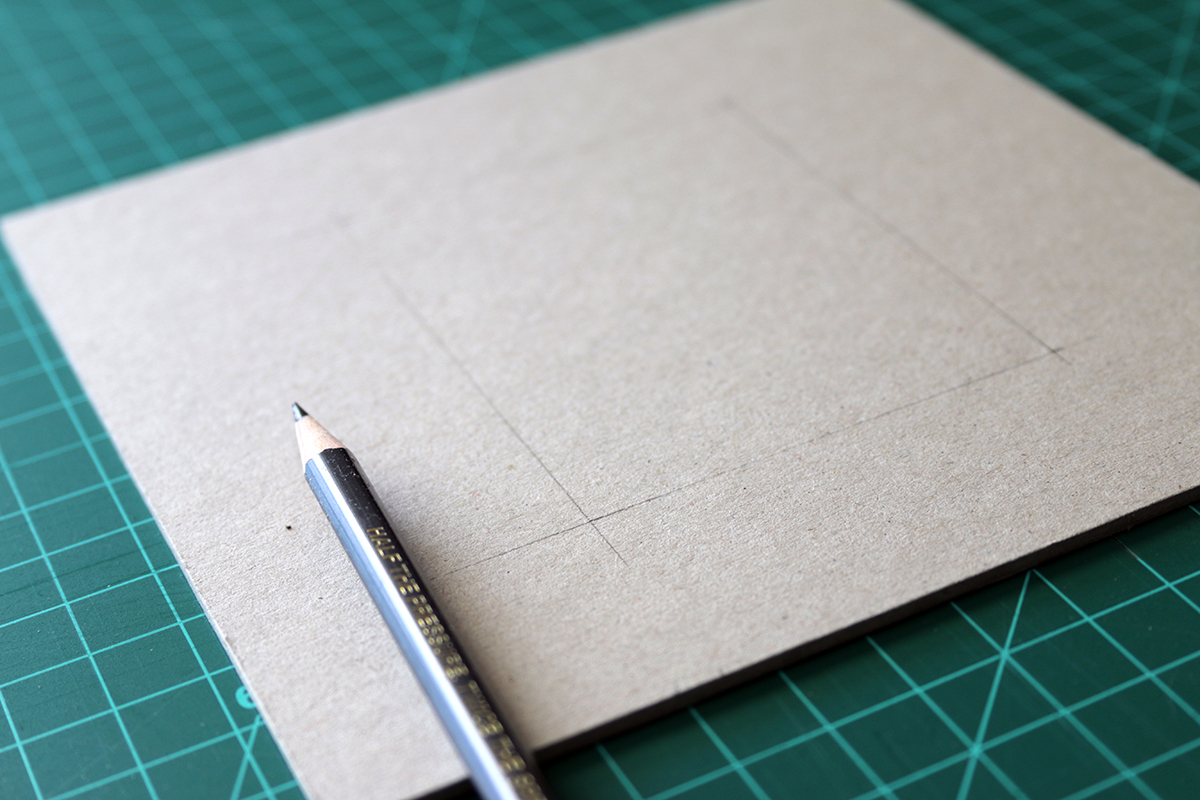
The book is 7"x7" with a 1" side strip. In my InDesign file, I put a light grey line on the 1" mark on both front and back pages accordingly so that it'll be easier for me to score with a bone folder later on. I also marked where I need to drill with a drill press.
Step 1 - front/back covers, side strips, &window mat
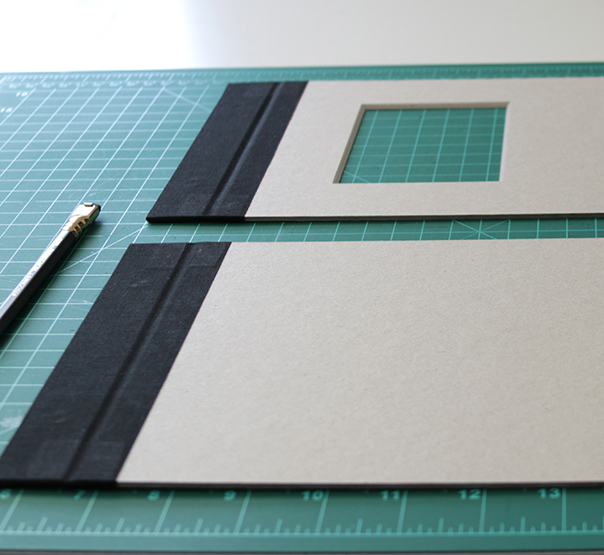
First, cut 2 sets of 1"x7" strips and 7"x7" for front & back covers.
For the window, you need to properly measure and mark your lines with a pencil on the backside of the board. The bevel mat cutter cuts 45 degrees inward so that when you flip the board, you'll have a beautiful window.
NOTE: There will be a 0.25" gap between the side strip and the cover when binding, in order to provide enough space for the book to open all the way without side strip and cover getting trapped against eachother. Since the cover is now shifted 0.25" to the right, you need to move the window 0.25" to the left so that the image on the first page appears properly centred.

Basically, you don't want to do what I did when I made my first book: a book that opened only half way and the main image peeking uncentred from the window.

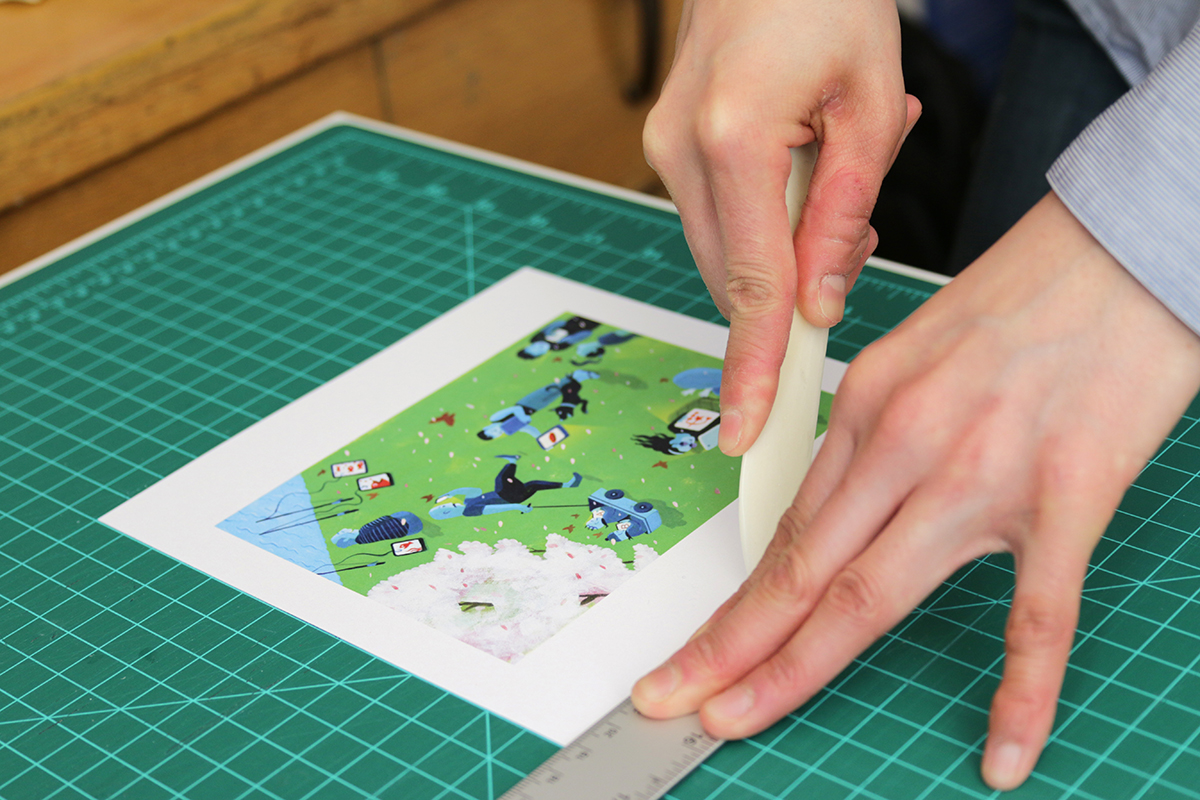
If you have access to a professional mat cutter, that's great, but if you are someone like me who doesn't, you can get a small, portable bevel mat cutter for a reasonable price. I'm not going into an explanation of how to use it, as you google it on your own. Basically, the mat cutter works by placing the edge of the cutter against a ruler, holding down the blade holder, and pulling it towards your body. My only suggestion here is to use a T-square (the heavier the better) and hold its head with your thigh against the edge of the table so that it won't move while the mat cutter slides along the edge. It really helps me every time.
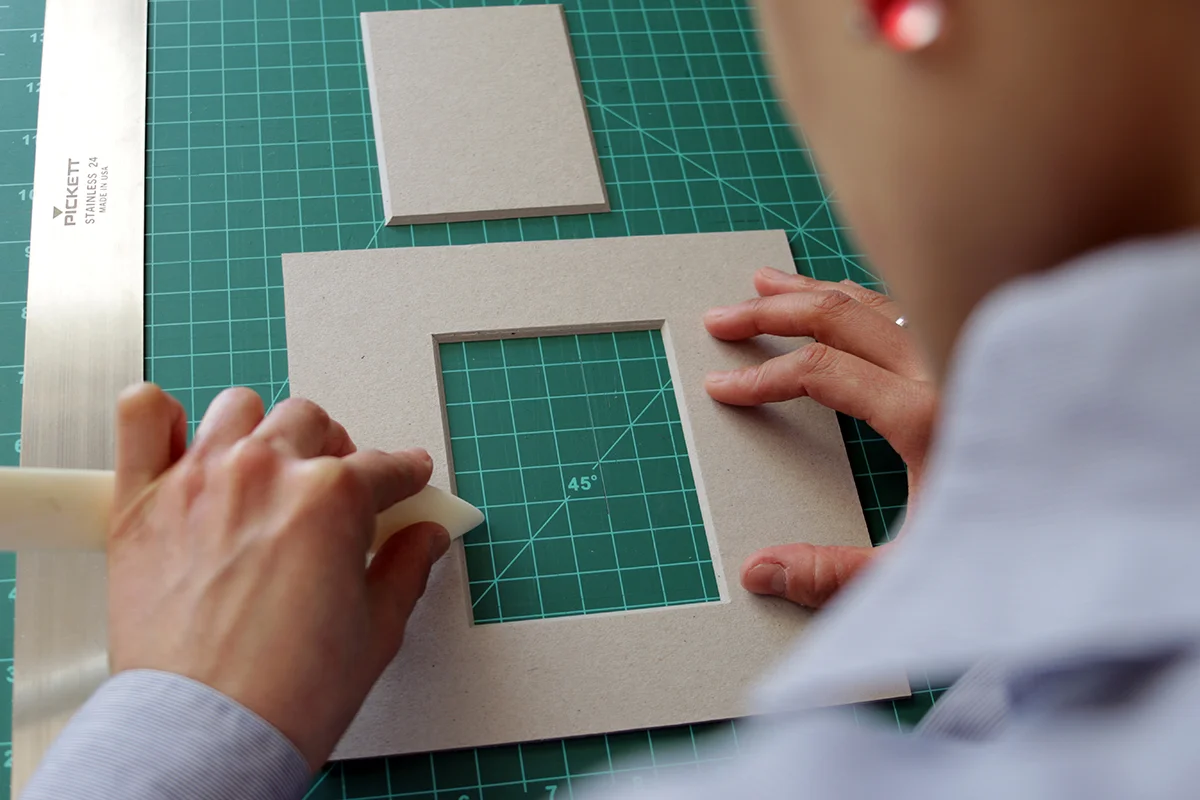
Once you score all 4 sides, flip it, and you can clean the edge with a bone folder. If the edge looks messy, you can also use fine sanding paper to clean it.
If you have never used a bevel mat cutter before, be patient. Your first window is probably going to be a little messy. Practice a few times and make sure to change your blade regularly. I usually change my blade after 3 - 5 times to avoid any rips or dull edges.
Step 2 - Connecting side strip and cover

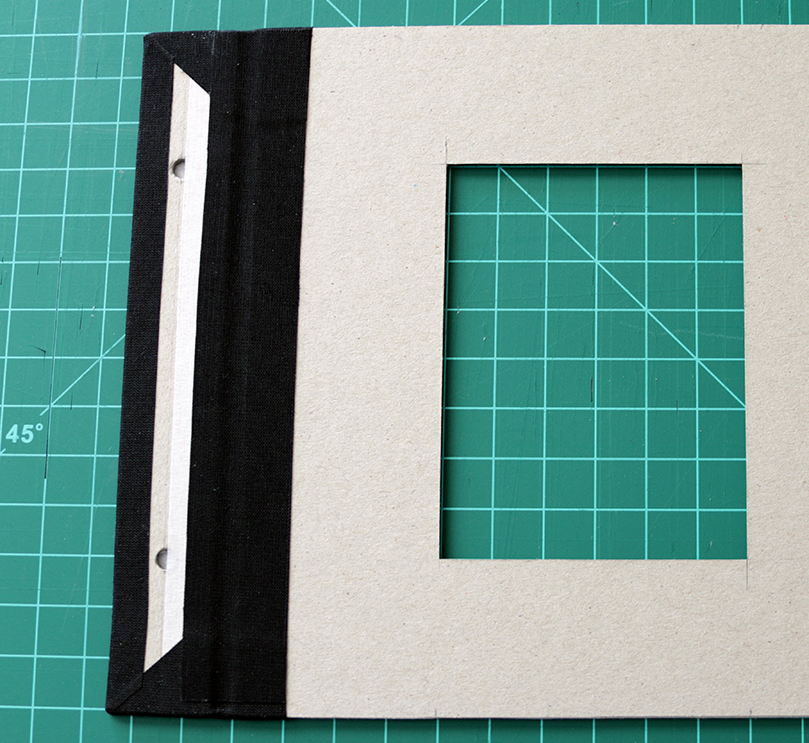
As I mentioned earlier, you want to give about 0.25" between the side strip and the cover to give enough space for the cover to open all the way. Although the book cloth is glued on the front side, you need to first put linen tape on the backside. So once again, flip the window and measure 0.25". I also measured and marked 0.5" - which is how much I wanted the book cloth to extend from the edge of the cover.
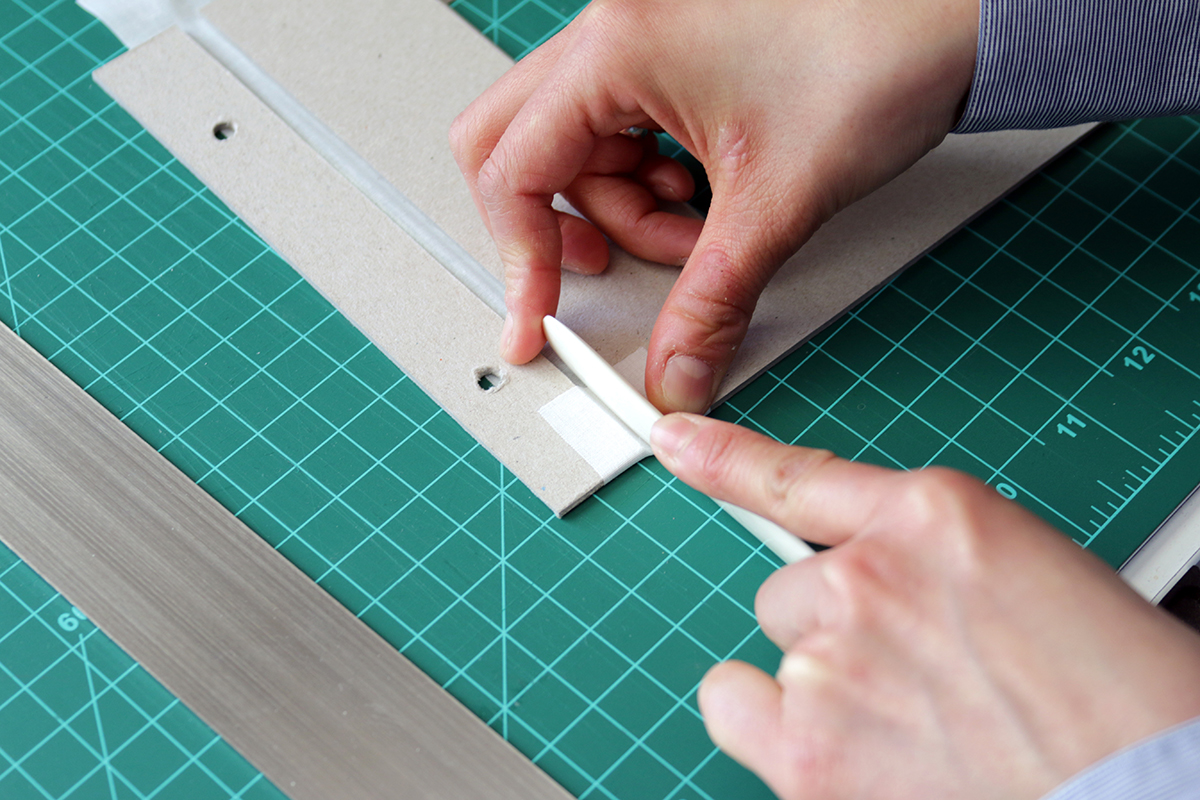
The height of my book is 7", so I cut a piece of 9" linen tape so that it gives about 1" on each side to wrap around on the other end. You could use non-adhesive linen tape and use glue, but I had a roll of self-adhesive linen tape. I put the linen tape slightly inward along the 0.5" mark so that the white tape would not show under the book cloth.
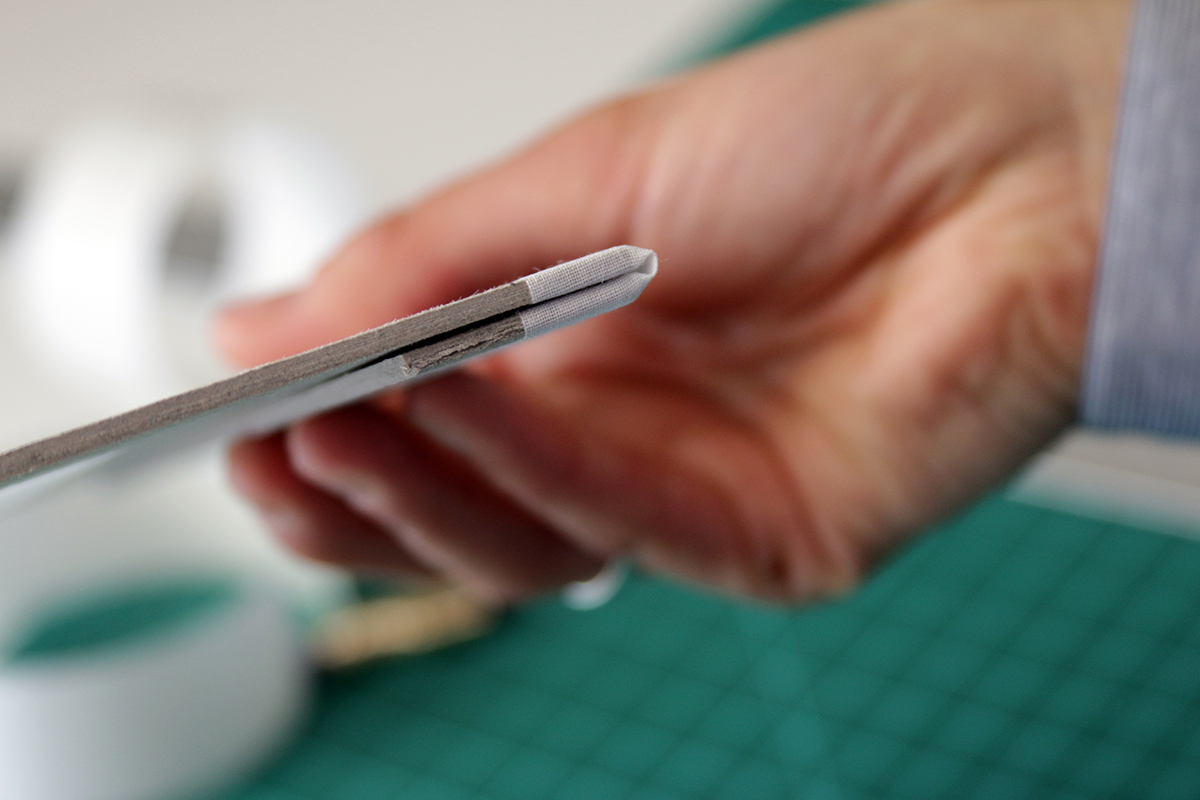
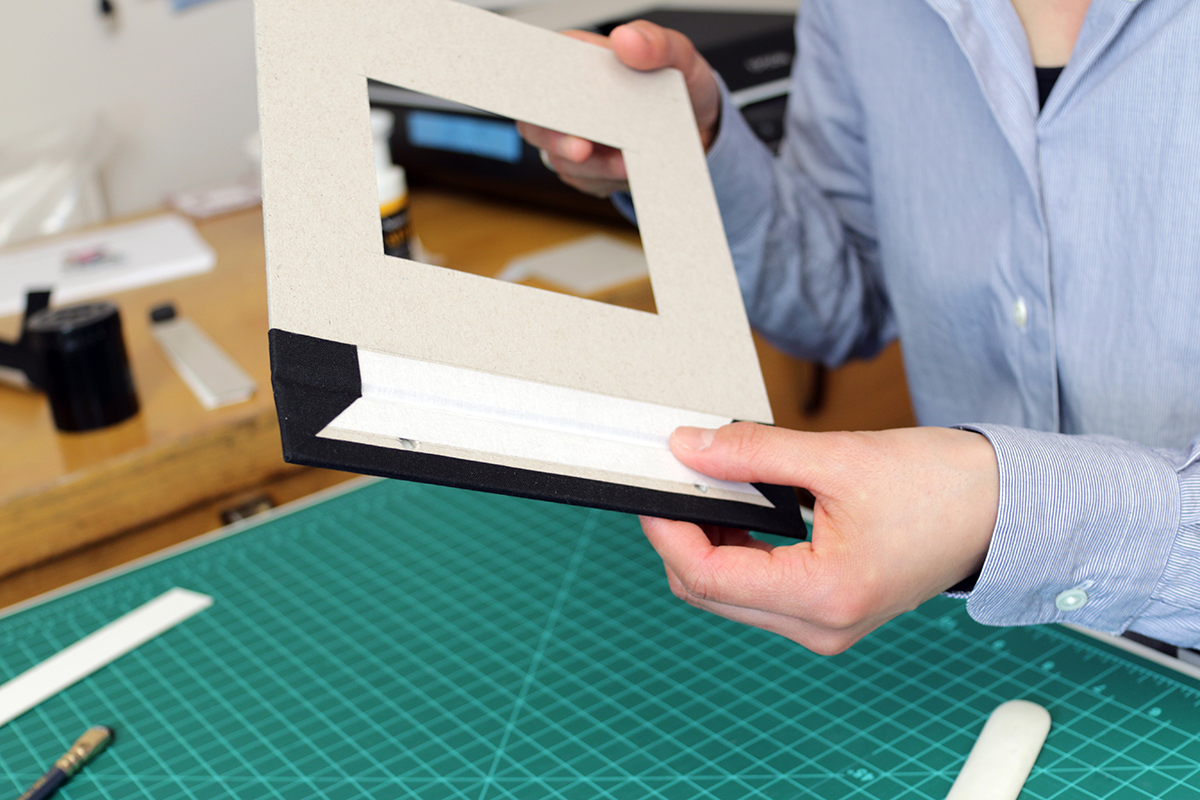
See? That 0.25" gap does give you enough space for the book to fold property.
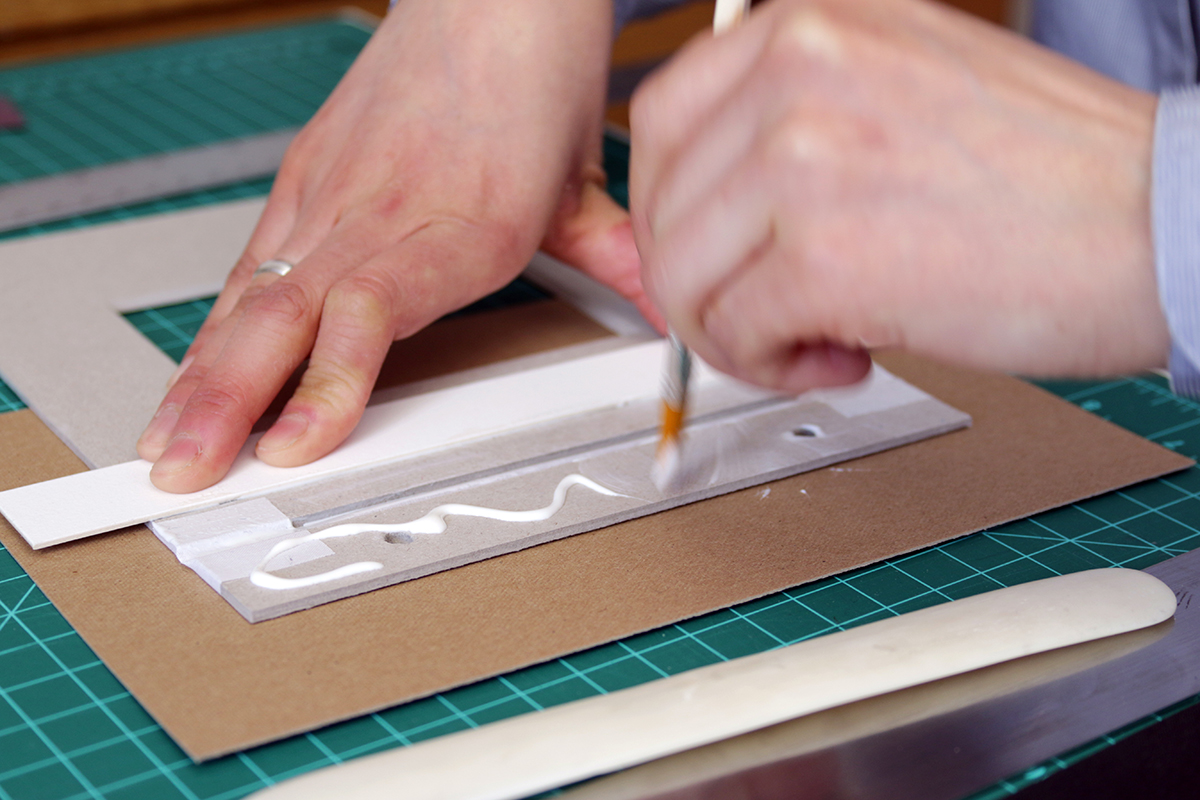
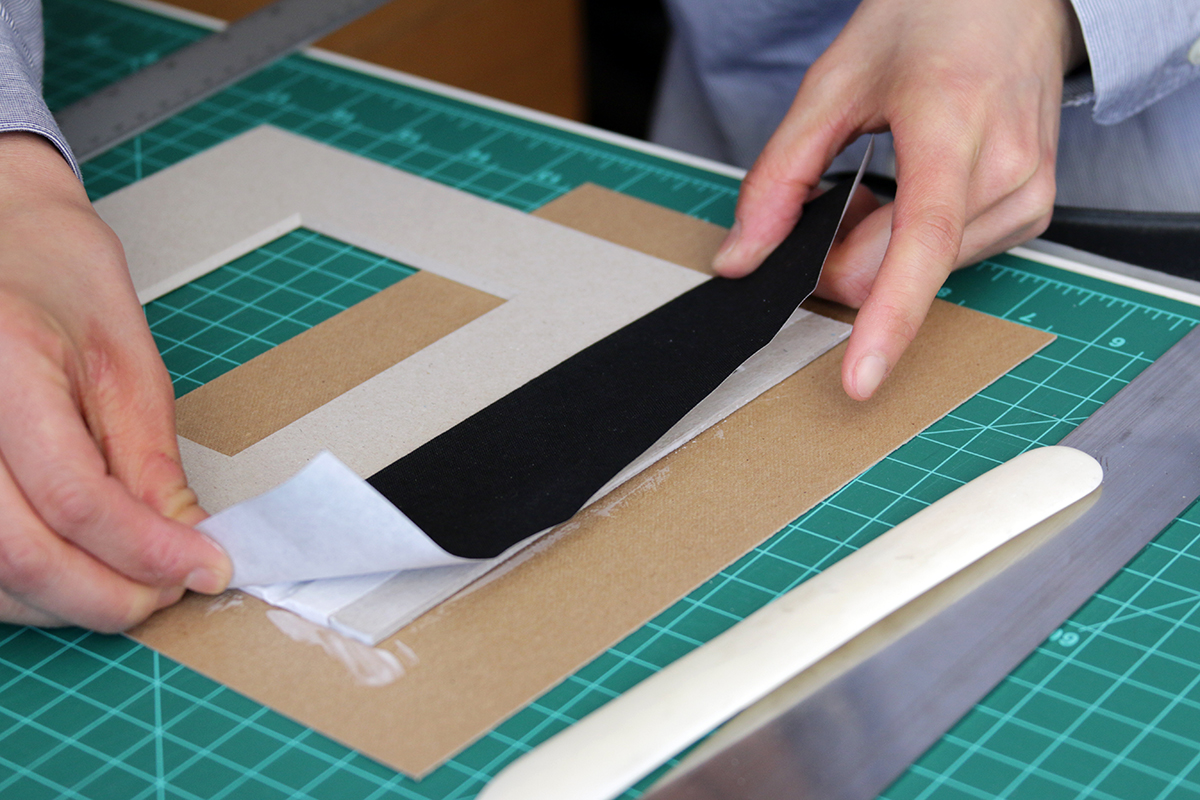
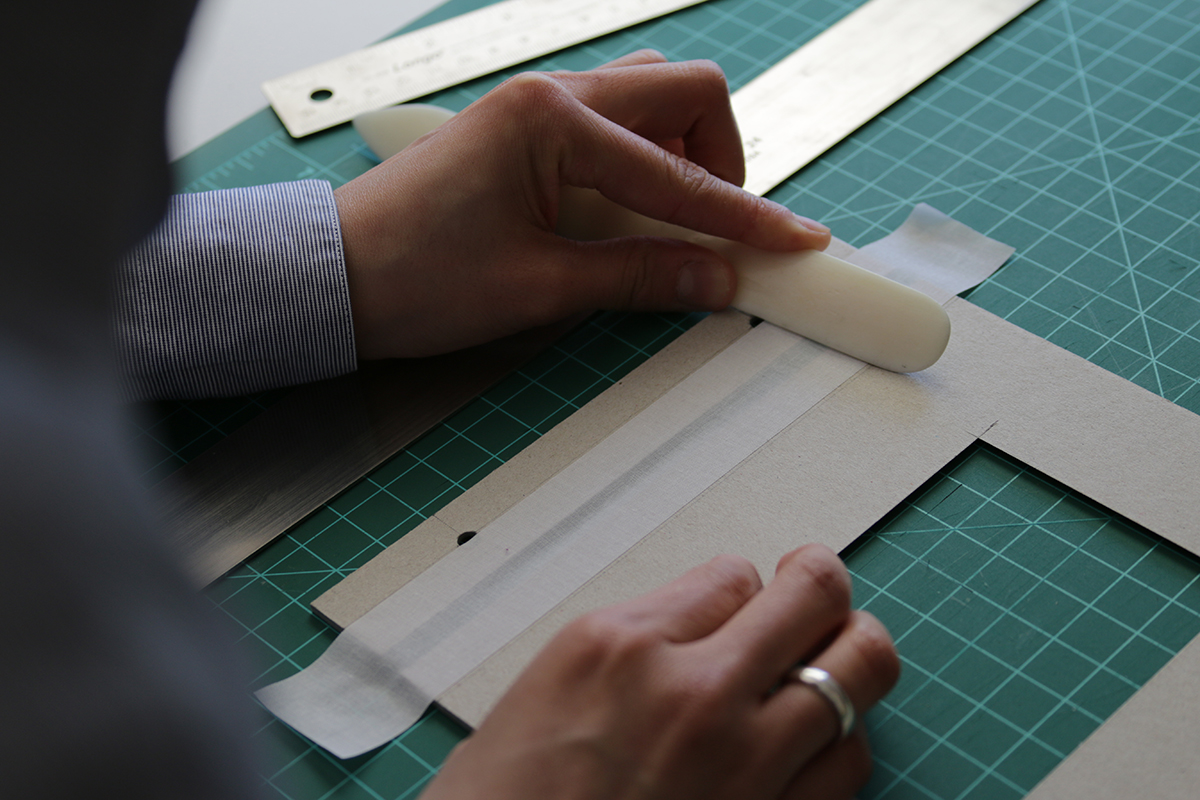
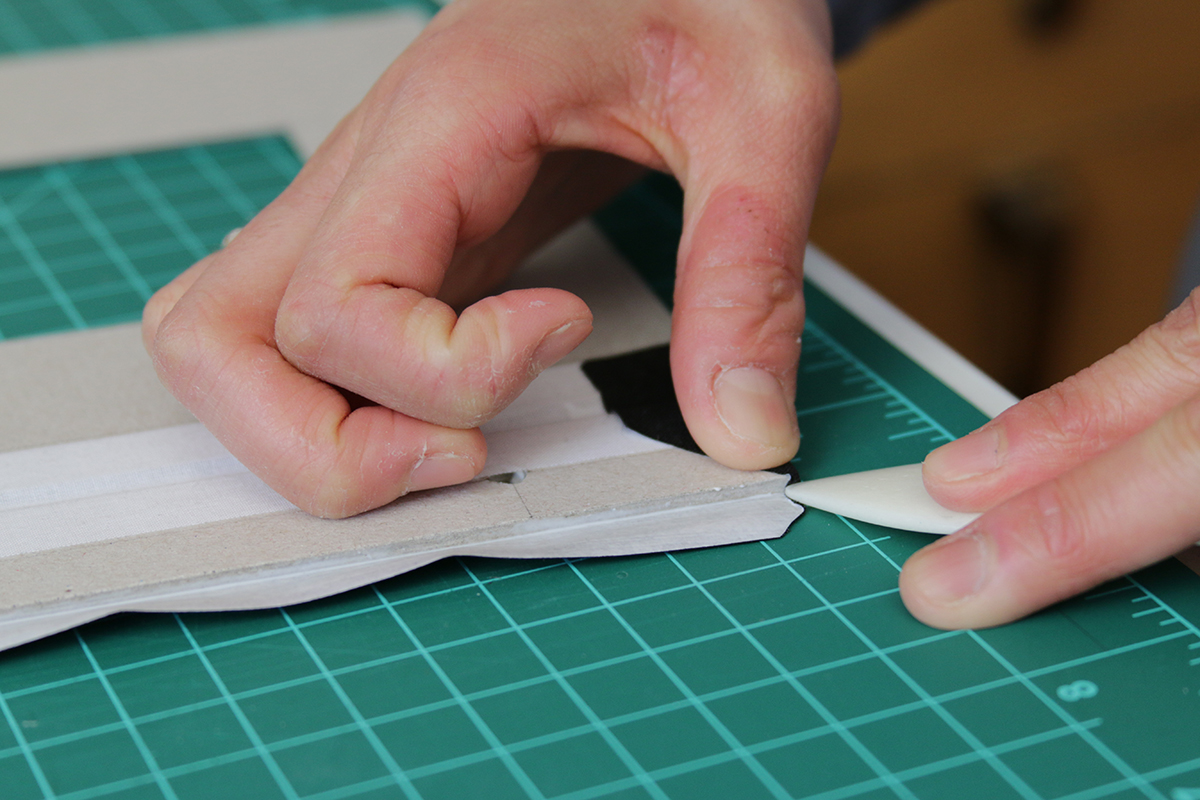
I suppose you can glue either the book cloth or the board. I just found it easier and less messy to put glue on the board. To apply glue perfectly along the 0.5" mark, I placed a piece of illustration board next to the mark and held it firmly while putting on the glue with a brush. Then you just need to put a strip of book cloth along the guideline.

I ran the side of the bone folder across the cloth to make sure it stayed glued to the Eska board. You might want to press the crease also. Oh, the dimension of the book cloth? I cut out 2.25" x 9, just enough for the cloth to wrap around the book.
Now you can flip the cover and trim the edge at a 45 degree angle.
NOTE - make sure not to trim it right at the corner's edge. Leave about 3/16" (I always just eyeball it, to be honest) from the corner so that you have enough material to fold around the corner.


Before I apply glue, I like to crease the book cloth along all the edges. It makes clean gluing so much easier. Please, for your own sake, make sure to put your brush into a water jar right away each time you use it.
You can use your bone folder to fold the book cloth around the corner.

And make sure to press all sides / edges really well.
Not bad, eh?

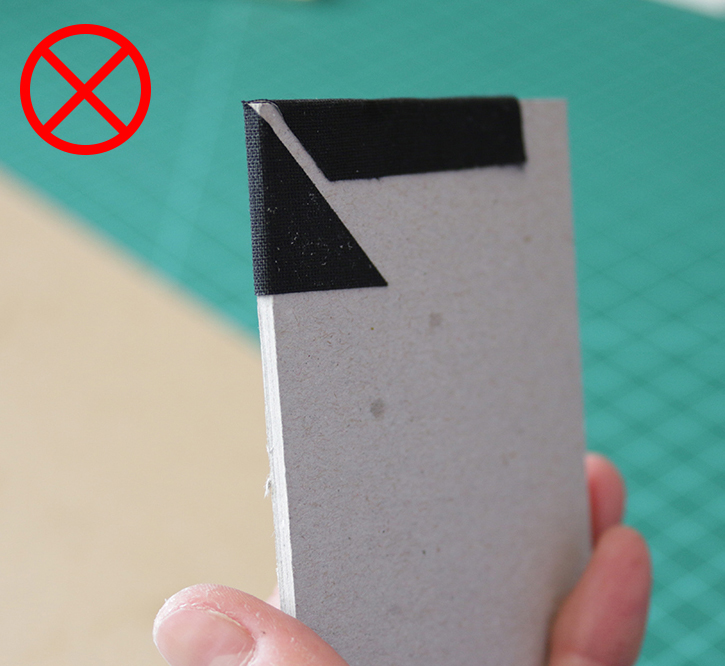
This is how you can ruin all your effort up until this point if you trim the corner right at the edge.
Now you can cut a strip of 0.75"x6.5" book cloth to cover the entire visible area along the edge. Once it's done, you can take the exact same steps for the back cover - exactly the same way.
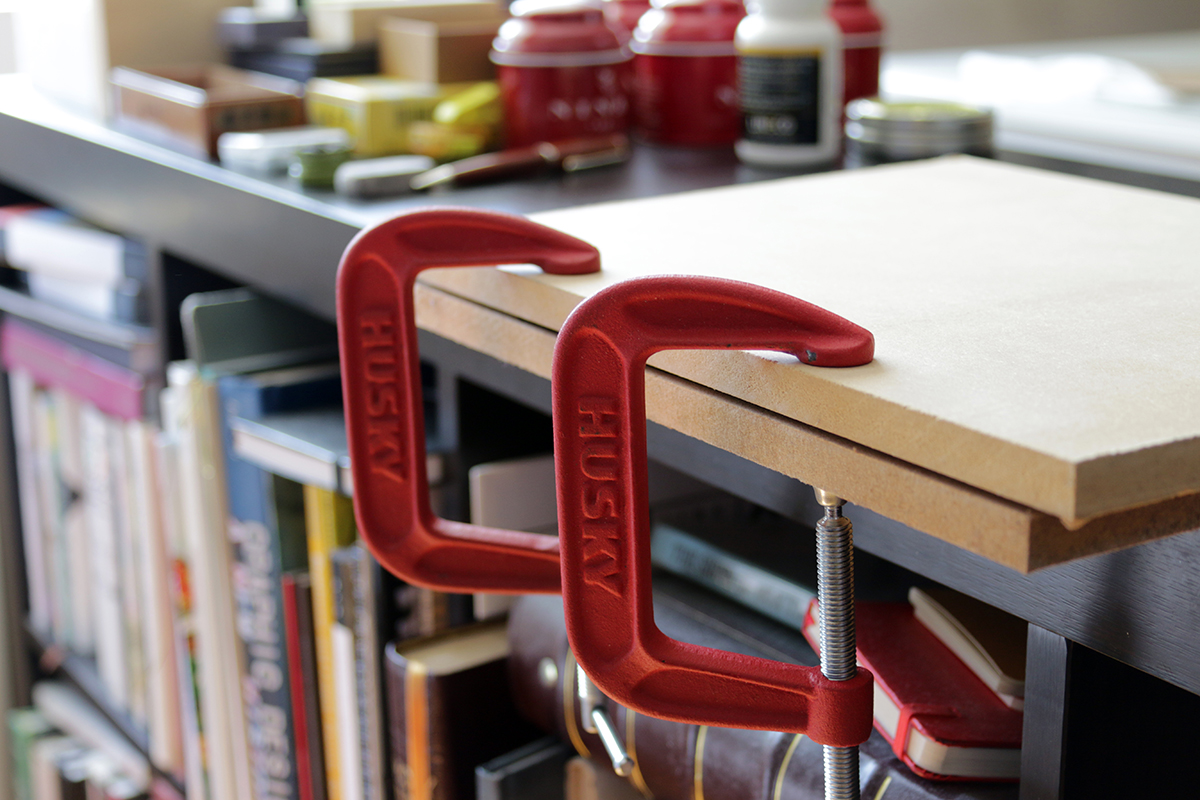
You don't have a fancy book press? Me, neither. I just used 2 pieces of wood with C-clamps. I probably should have secured the clamp further away from the edge, but hey, the book came out fantastic regardless. Make sure not to tighten the screws too much, otherwise the edges of linen tape will be visible. How do I know that? I've done it. Then I usually leave them pressed overnight. I go to bed late, and I'm an early riser, but I assume 6 hours should give a enough time for the glue to dry completely.
Binding
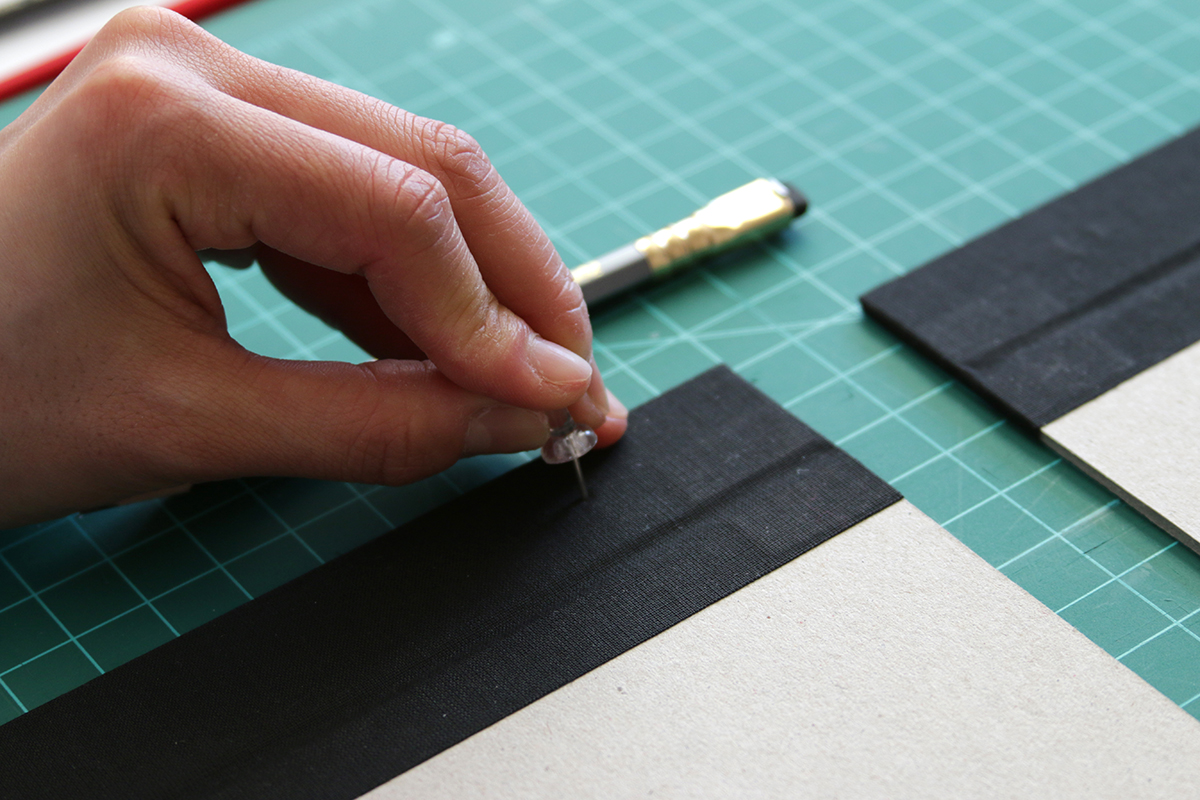
If you have an awl, fantastic, but I don't. I just used a tack to make holes. You can also use a safety pin, a nail, or a barbecue skewer.

I'm not sure what the proper tool is to increase the gauge of the holes, but you can use either the stem of a small brush or a chopstick.
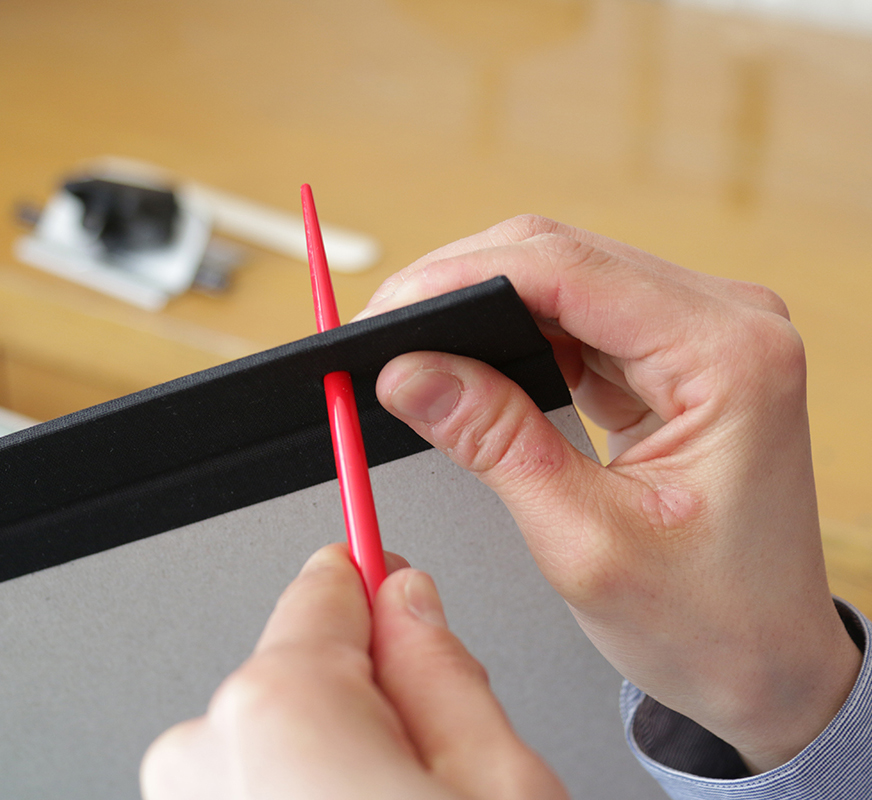
Before you start binding the book, you might want to score each page along the 1" line you marked in InDesign.
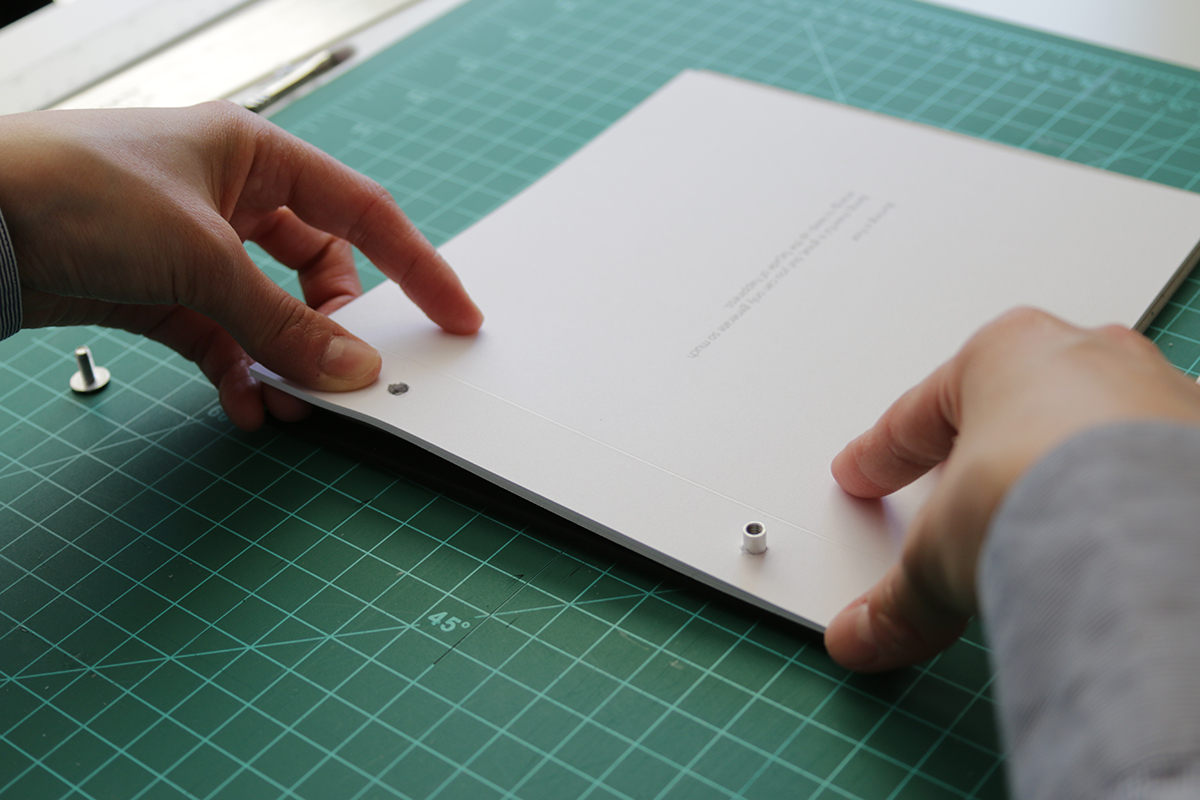
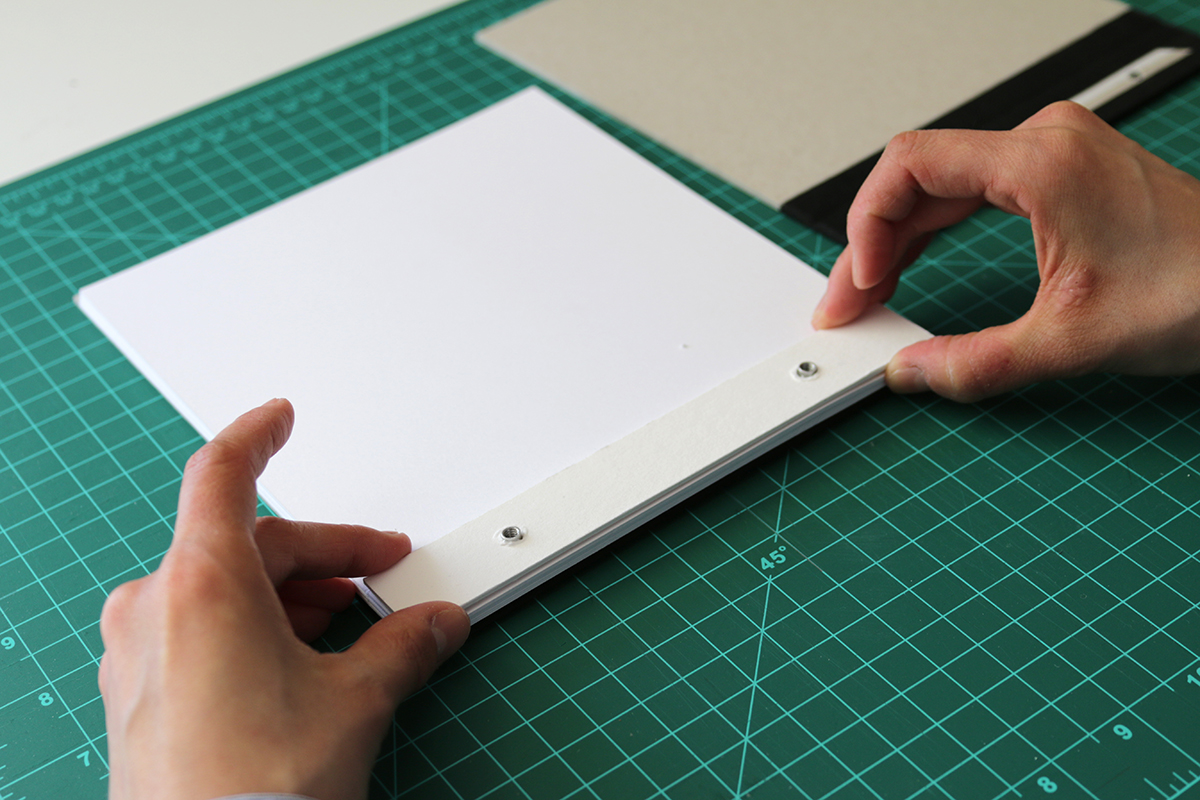
You can now start stacking the book cover and pages on the flat side of the screw post. If your book does not have enough width for the height of the screw, you can make a spacer to match the height.

Once you put on the back cover, you can place the back screw and tighten it together. You could use a flat screw driver, but I wanted to make good use of our now-phasing-out, dear ol' Canadian penny. It fits so perfectly.
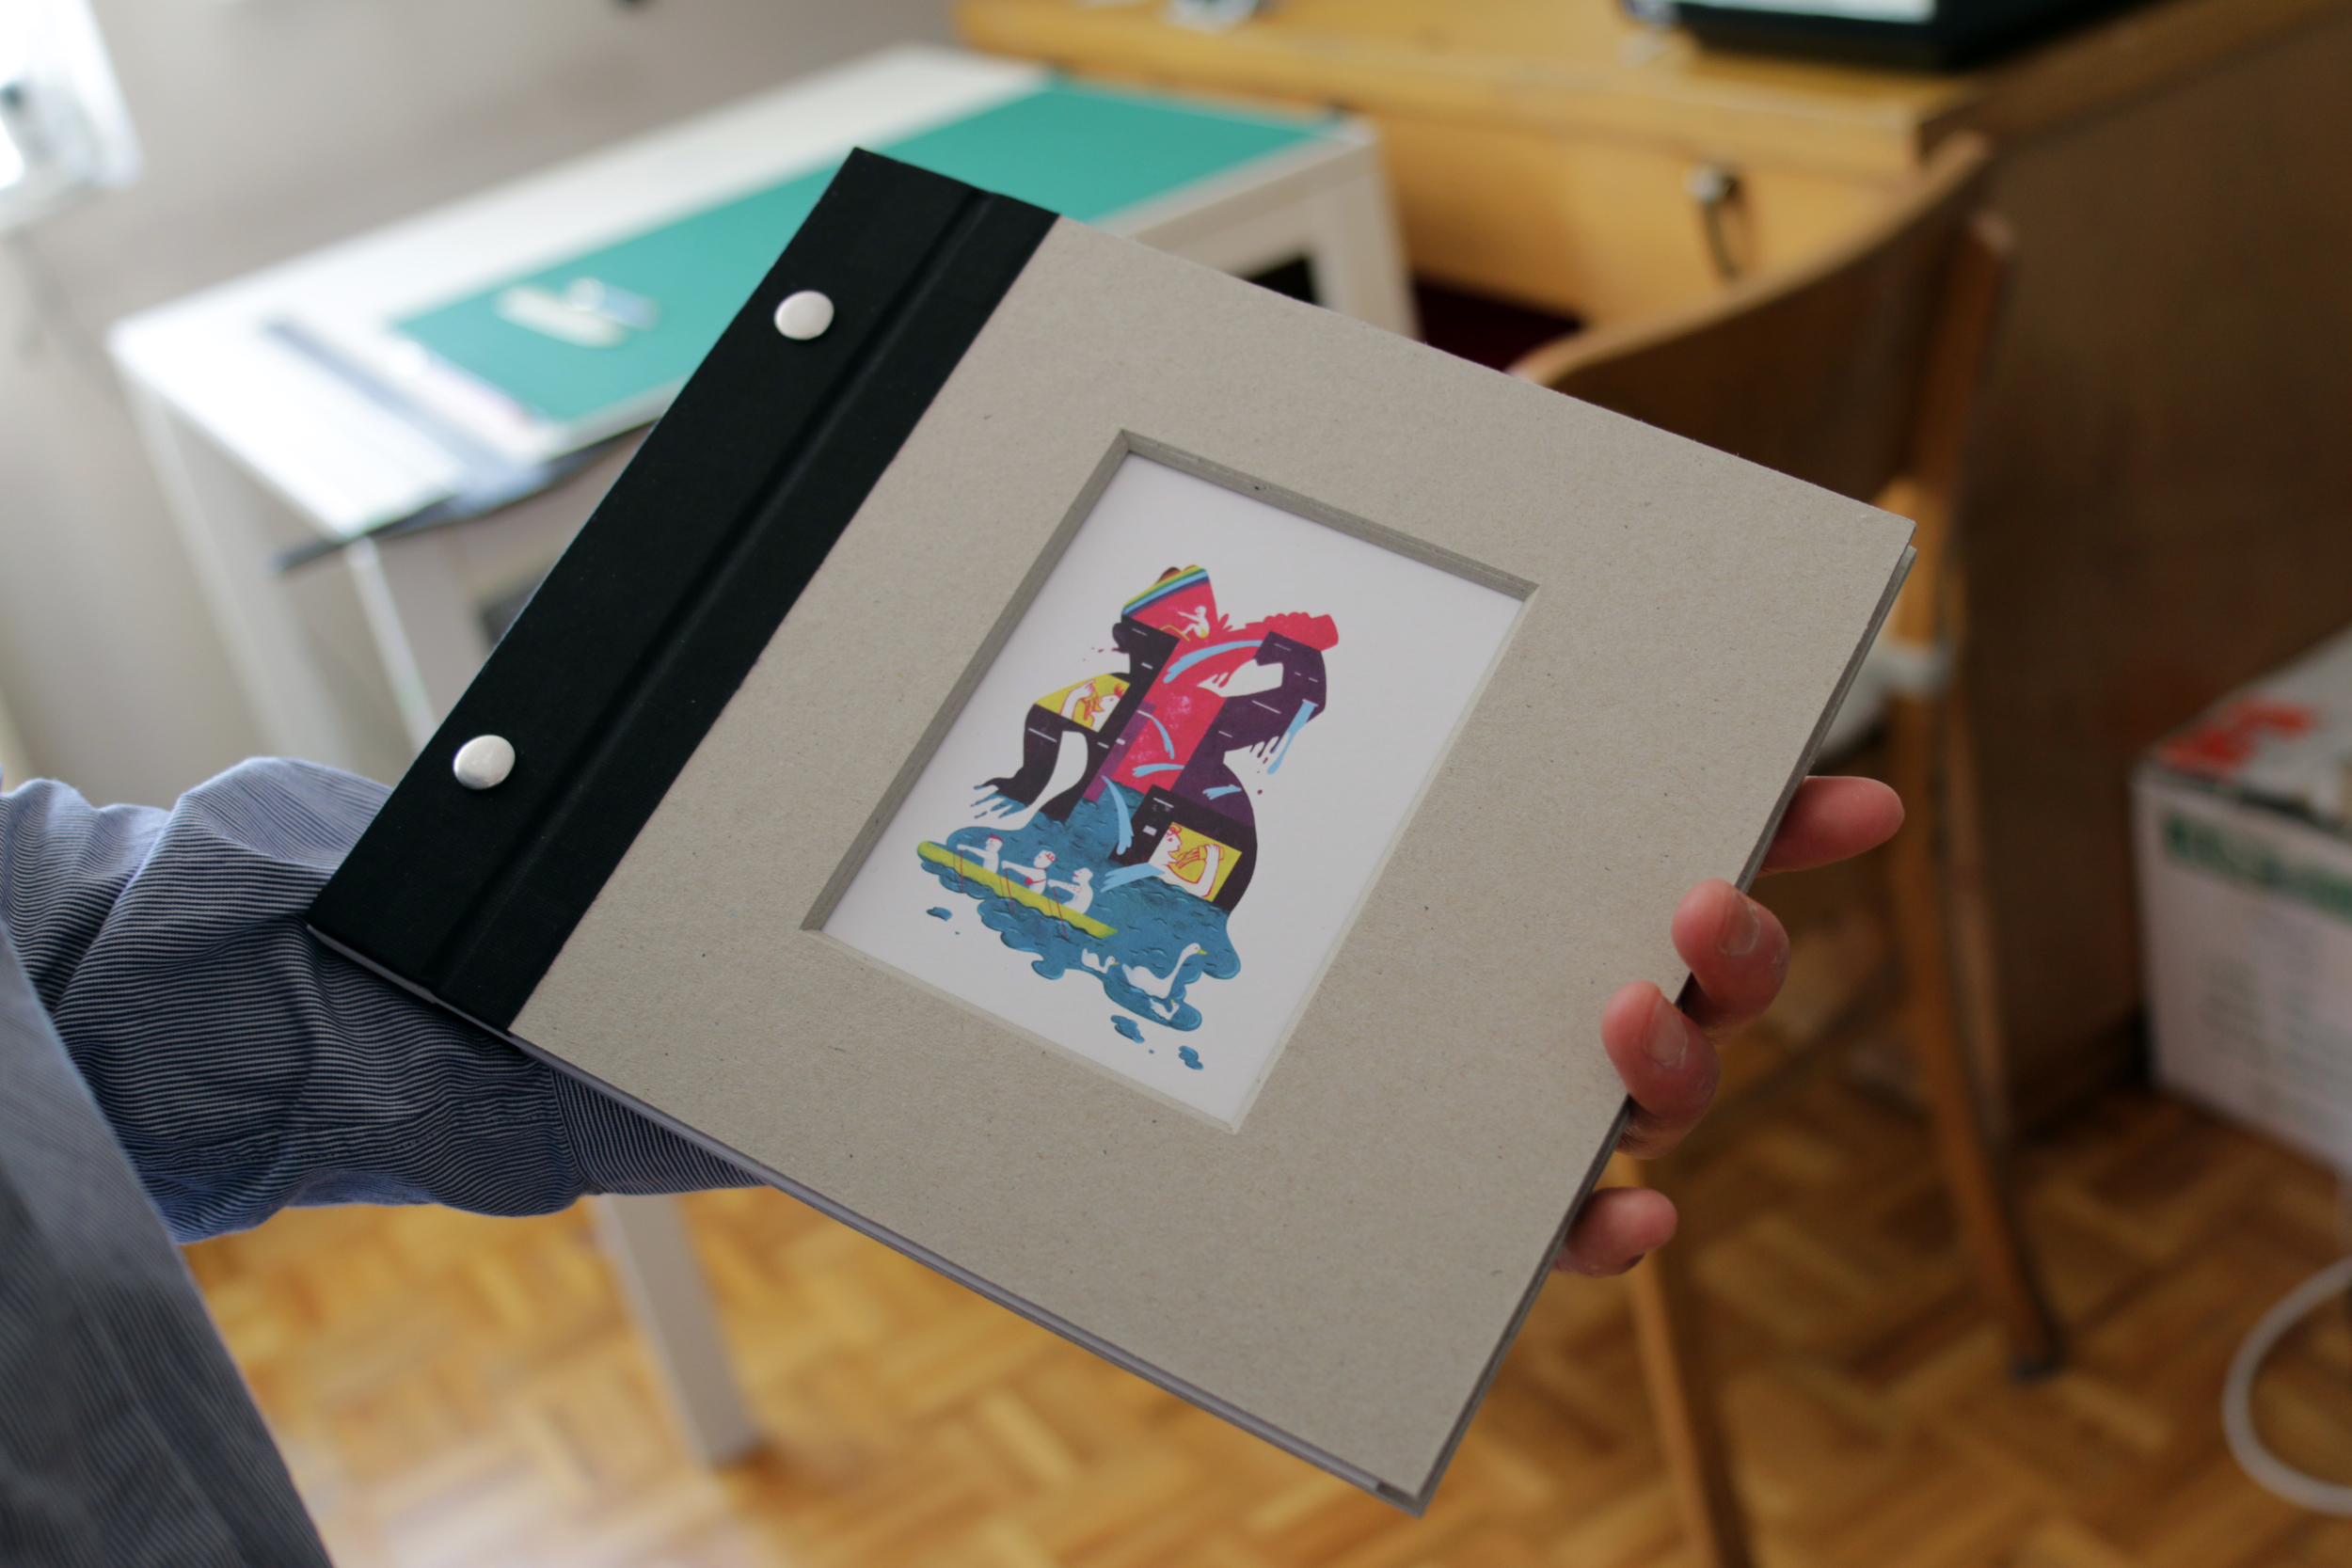
- and voila! You have a hand-bound screw-post book with a window!
Just like everything else, your first book might not look so handsome, but it'll get better with trial and errors. With my DIY with lots of pictures, hopefully it'll be less error and lots more fun. Good luck!